Week 5: Colored Clay
|
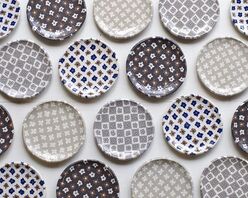
So, we know that we can add color to our work by glazing it and we also experienced a few different ways to use colored slip in Ceramics I. Honestly, we barely scratched the surface of what is possible! There are so many different ways ceramic artists have incorporated color not only on the surface of the work, but also changing the color of the clay body. Under normal circumstances we would have explored this unit as a set challenge and primarily used Brutus and Bertha (light and dark) as our clay bodies. . . although earlier this year we had made some really nice blues with mason stains. Again, I find myself so sad that we can't be in the studio for some hands-on, minds-on time together. . . but it really is a fun concept to explore and I can't wait to see or hear about your week 5 adventures!!!
Have a great week! |
Week 5 Ramblings |
Options for this Week:
|
- Sketch a set that would use colored clay techniques. How would you make them? What steps are involved? What kind of set would you want to make?
- If you have a type of clay that you could color with food coloring or a type of colored clay (playdough even) give it a shot and make a small version of a nerikomi block or marble it and make a wee little object. . . jewelry is really fun for this project. - Do some research on different techniques used to create colored patterns with clay. How do they color it? What are some things that need to be considered when working with the different colored clay bodies? - Dig into some history about how color was used in ancient times. A good one to look at is the way Greek vases were made and how they used different compounds in the process. Share what you learned. - Find an artist known for making pottery with a specific colored clay technique. What do they make? How do they make it? Is what they make purely production/craft pottery or do they blur the lines between fine art and craft? |

|
